Thanksgiving is just around the corner! Bring it on family gatherings, friendly celebrations, and tasty treats! Make your holiday prep and decorating easier with a stunning Thanksgiving centerpiece. Everyone will gobble up the gorgeous colors and luminous metallics. Set the table in style with this festive, DIY craft!
STEP 1: SUPPLIES
Gather your supplies before you get started! You will need the following items to complete this easy craft:
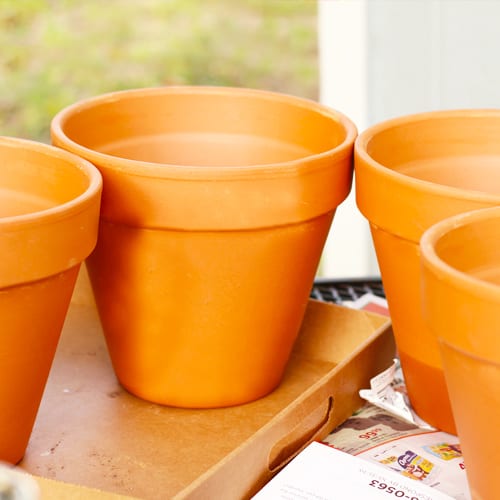
- 4 X Terra cotta pots (size of pot is dependent on size of plant)
- 4 X Terra cotta saucers (size of saucer is dependent on size of pottery)
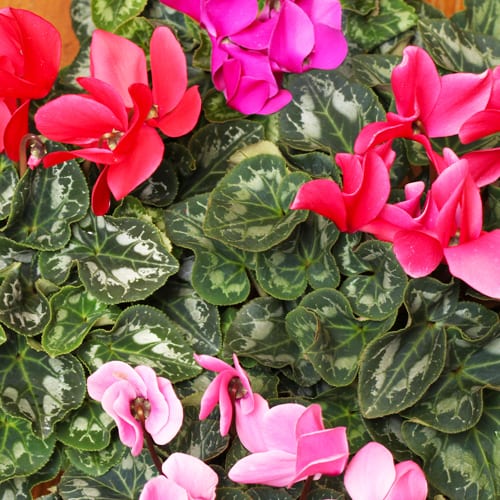
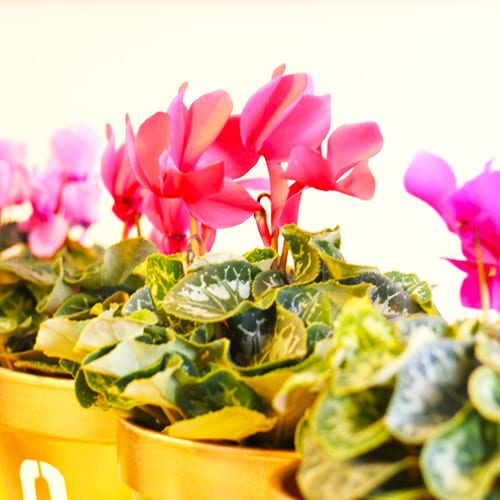
- 4 X Cyclamen plants (or more for larger creations!)
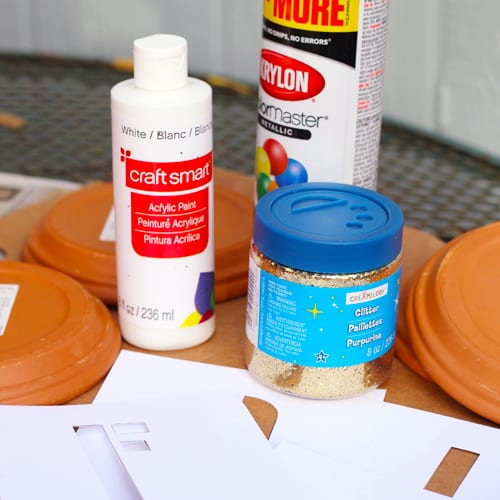
- White paint
- Gold spray paint
- Mod Podge®
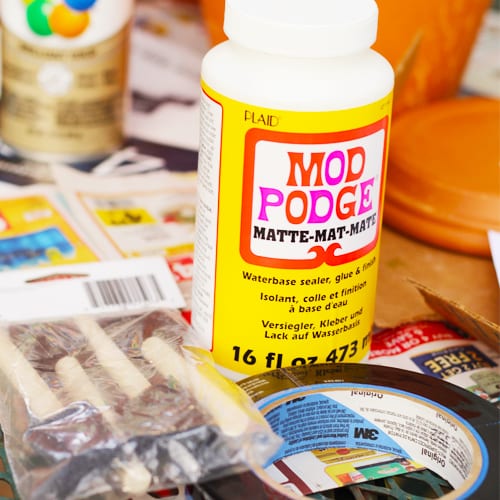
- Gold Glitter
- Sponge Brushes
- Painter’s tape
- Stencil letters (check out our template provided below!)
STEP 2: STENCIL

We created an easy stencil for your personal use! Each letter will print to a separate page. All you need to do is print and simply cut out the black area of each letter.
CLICK HERE TO DOWNLOAD OUR FALL STENCIL TEMPLATE!
We recommend using an Exact-o knife and ruler for easy cutting. As always, please assist children for their safety. This stencil is set up for our 8in terra cotta pots. You can increase or decrease the size in your print settings. Once the letters are ready, set them aside in a safe place to avoid ripping or wrinkling your stencil.
You can use any stencil of your choice or you can even hand write the letters on your pottery!
STEP 3: GOLD
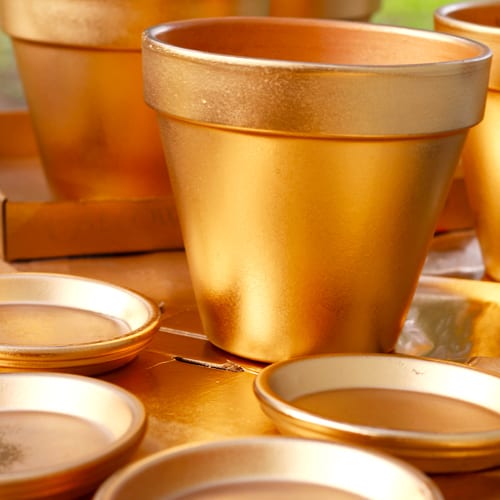
Next, set up your pots and saucers on a protected and covered surface to avoid any paint spills or mishaps! Spray coats of gold paint until the terra cotta is covered, trying not to spray too much in one location or else it will create drip lines.
STEP 4: GLITTER
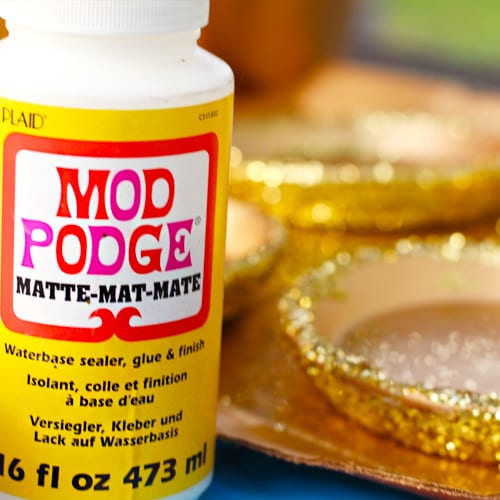
Once the saucers are dry, apply good layer of Mod Podge® around the exterior and top of the rim of the saucer.
Sprinkle glitter around the saucer to give a good coating and coverage over the glue. We recommend doing this over a large bowl or tray to catch the loose glitter to use on the other saucers.

Gently shake off glitter remnants and set aside to dry completely.
STEP 5: LETTERS
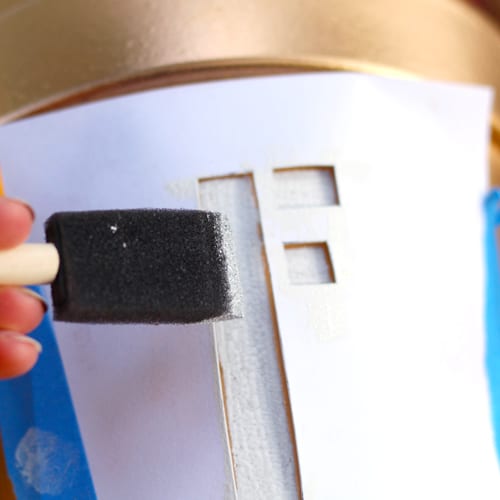
While the saucers dry and when your pots are dry from being painted, add your “FALL” letters! Secure the stencil with pieces of painter’s tape to protect the gold paint.
Dab a clean sponge brush into white paint and then start filling in the stencil. Work carefully around the edges to create clean lines. Add more layers if needed for a stronger color application.

Carefully remove the stencil and tape from your pottery and allow it to dry completely.
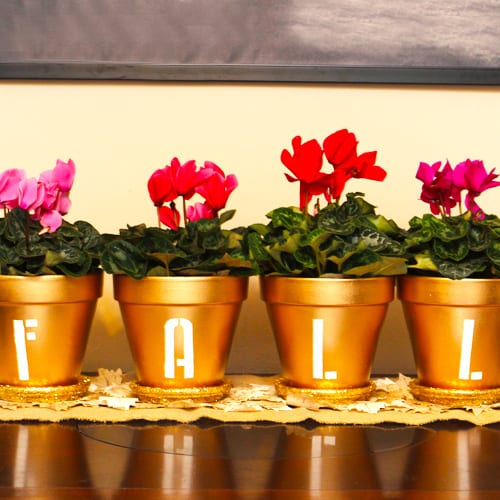
STEP 6: PLANT & DISPLAY
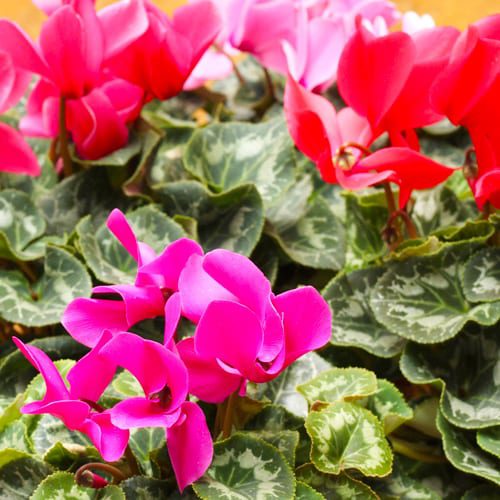
When your fabulous pots are complete, it is time to add your beautiful plants! Fill each pot with Calloway’s Premium Potting Soil, leaving room for your plants.
Sprinkle in your Calloway’s Premium Flower Food as directed and mix with the soil.
Remove your cyclamen from its container and gently break up the root ball. Add your plants to your new pottery and water in thoroughly. We recommend doing this step prior to placing on saucers for the initial watering. Add more potting soil if needed.
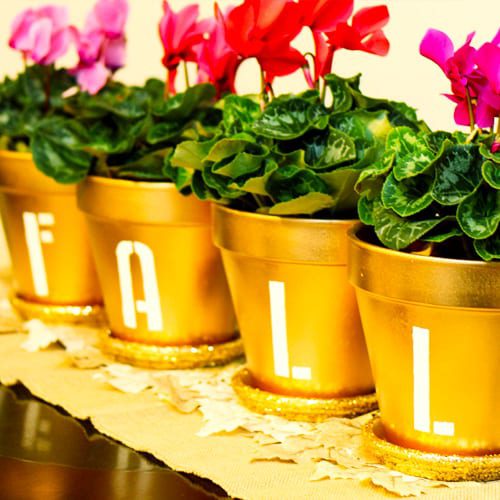
You are done! Time to display your Thanksgiving centerpiece! Place on a seasonal table runner or surround with pumpkins or gourds, it is up to you!

Let the warmth of the gold and the elegant blooms fill your home with happiness and sparkle!
For more tips on cyclamen care, check out our blog here!
Stop by our store nearest you for your Thanksgiving centerpiece planting needs, pottery, and more!
Questions? Ask one of our Texas Certified Nursery Professionals available at every store location!