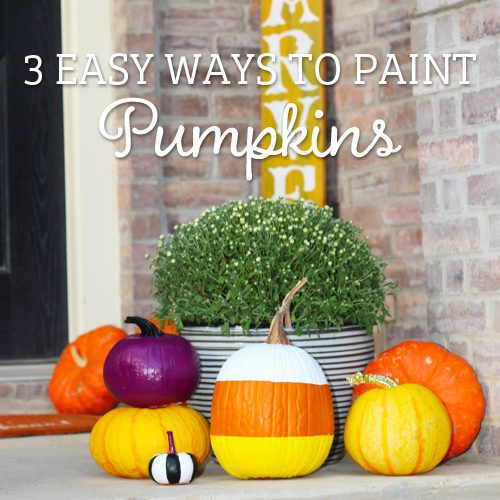
Are you searching for no carve pumpkin decorating ideas? Try painting your pumpkins! Check out these 3 easy ways to paint pumpkins and elevate your fall pumpkin décor!
To get started with our easy no carve pumpkin ideas, make sure to clean your pumpkins. Remove excess dirt to create a fresh surface to paint and decorate.
IDEA 1: CANDY CORN PUMPKINS
Pumpkins are truly beautiful. Allow the natural colors and textures to shine and paint only part of your pumpkin! Not sure where to start? Make Candy Corn Pumpkins! Candy Corn Pumpkins allows visibility of the gourd-eous orange hue with a modern touch of clean lines and bright, bold color.
SUPPLIES:
- Pumpkin of Your Choice
- Yellow and White Craft Paint
- Paint Brush
- Optional: Painter’s Tape
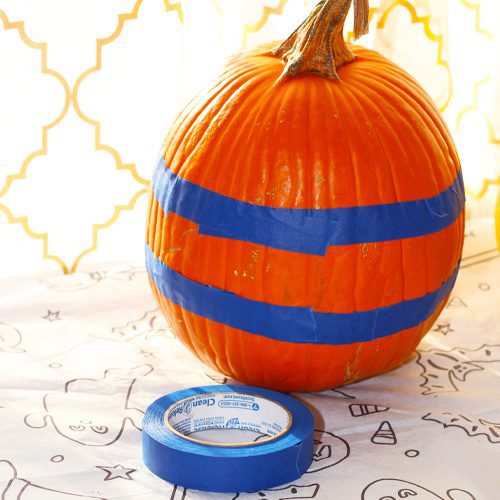
STEP ONE:
To make your Candy Corn Pumpkin, you start with 2 options. First, to create a crisp line, use Painter’s Tape. Tape off where the bottom of the white area will be, as well as the top of the yellow area on your pumpkin.
The other option is to go free hand. Use your paint brush to create the appropriate areas for the Candy Corn look.
STEP TWO:
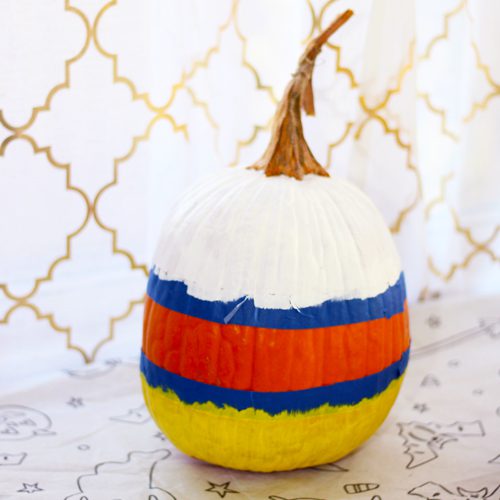
It is time to start painting! Paint the top portion of the pumpkin white and paint the bottom of the pumpkin yellow. Allow the paint to dry completely and add additional coats of paint as needed.
STEP THREE:

Once your pumpkin is fully painted, allow everything to dry completely. If you used Painter’s Tape, slowly and carefully, remove it from your pumpkin. Your Candy Corn Pumpkin is now complete!
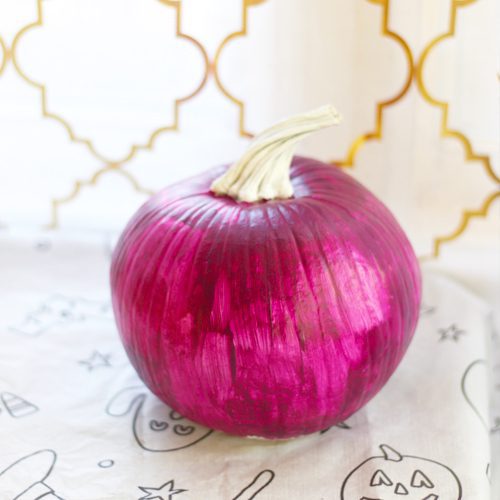
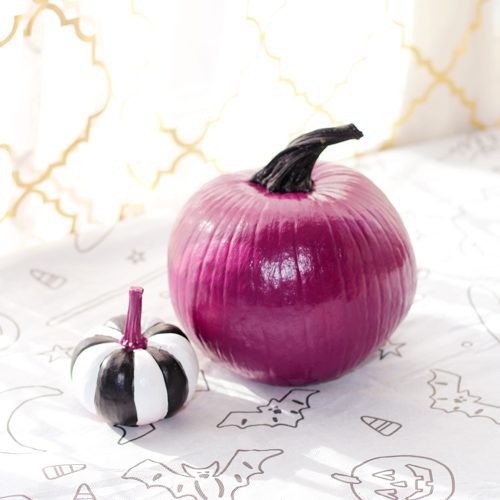
IDEA 2: FULL COLOR PUMPKINS
Personalize your pumpkins with paint! Paint the pumpkin and the stem to create a spooky accent to your fall pumpkin décor! Make a funky design or keep things clean and simple with a bold paint color.
SUPPLIES:
- Pumpkins of Your Choice
- Craft Paint
- Paint Brush
- White Spray Paint
STEP ONE:
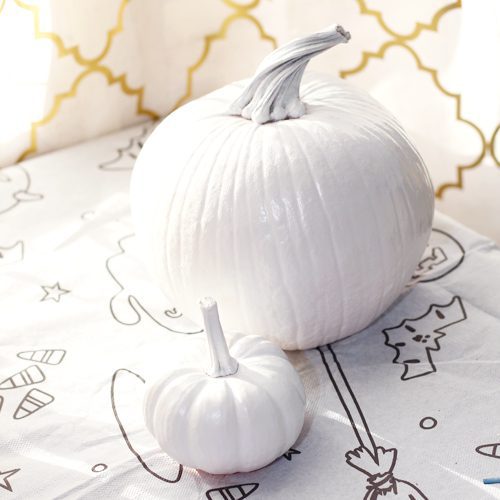
For easier painting and a richer color, give your pumpkins a base coat of white spray paint until fully covered. Make sure to cover the stem!
STEP TWO:
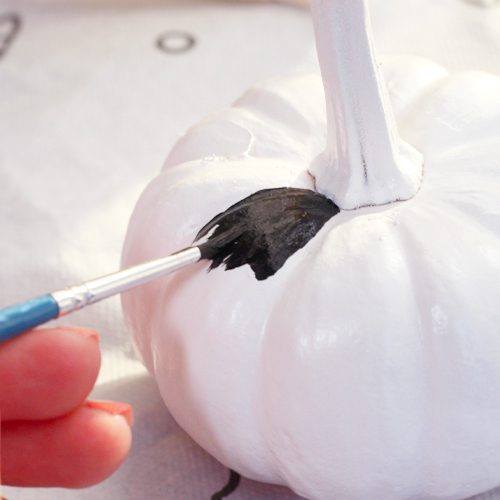
When the white spray paint has dried, start painting your pumpkin! Paint the pumpkin first and then the stem. You will need the stem to help rotate the pumpkin as you paint your masterpiece.
Allow each layer of paint to dry completely. Add more coats as needed for a bold color and design.
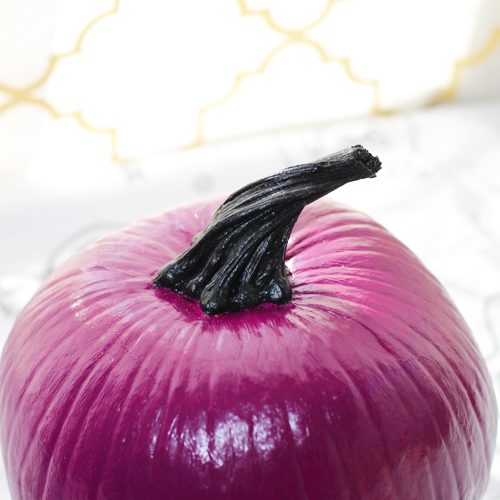
After your pumpkin has finished drying, paint the stem. Use unexpected paint colors or create a haunting display with classic Halloween hues to match your fall décor!
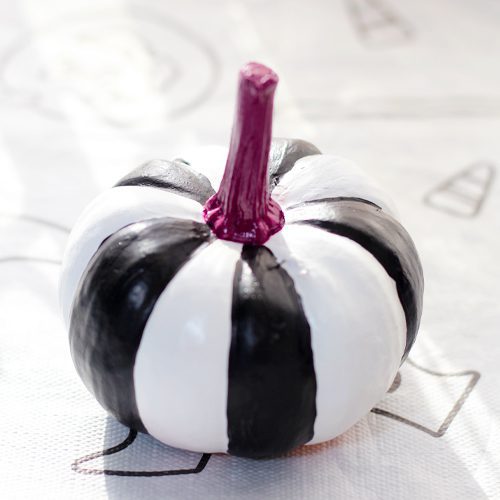
For a simple design, use the grooves of the pumpkin as a guide and create a festive pinwheel-type pattern.
Your perfect pumpkins are now personalized just for you!
IDEA 3: PAINT THE STEM
The pumpkins, gourds, and squash at Calloway’s and Cornelius come in a variety of sizes, styles, and colors. Spruce up your Autumn Harvest selections with a sparkling stem!
SUPPLIES:
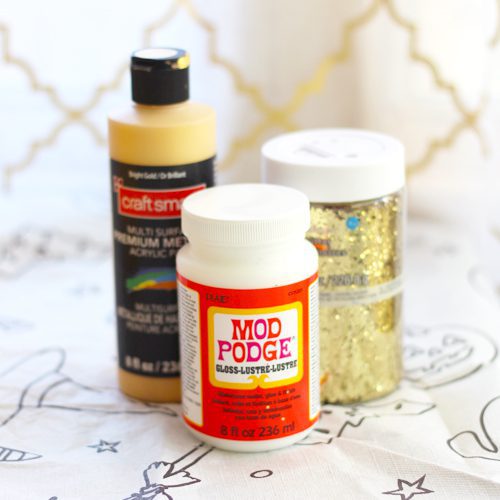
- Craft Paint
- Paint Brush
- Foam Brush
- Mod Podge®
- Glitter
STEP ONE:
Make your pumpkins or Millionaire Squash look like a million bucks. Enhance the stem with gorgeous color and bedazzle it in glitter.
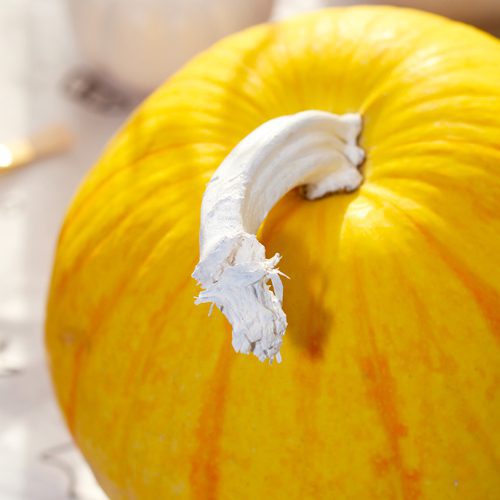
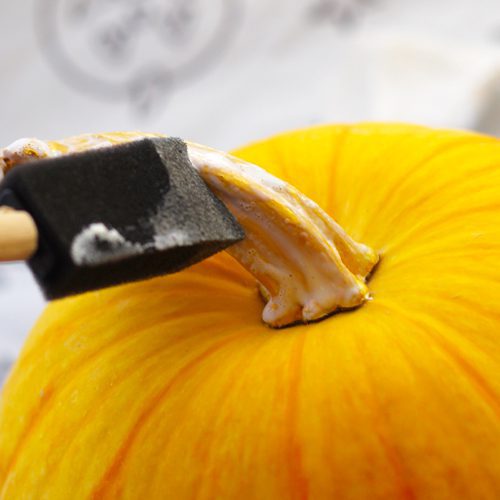
First, paint the stem white for better coverage.
STEP TWO:
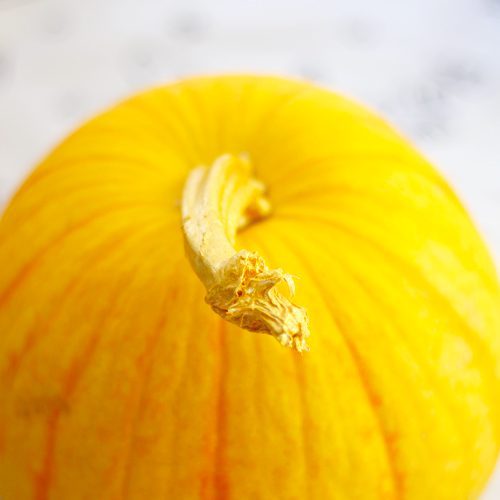
After the stem has dried, paint it with the same color as the glitter you chose. This will help cover any patches that may be missed with glitter. We picked gold for our stem.
STEP THREE:
It is time to add the glitter! After the gold paint has dried, brush stem with clear-drying Mod Podge®. Grab your glitter and sprinkle it over and around the stem, covering it completely. For a quick clean up, do this over a container of your choice to catch the excess glitter.
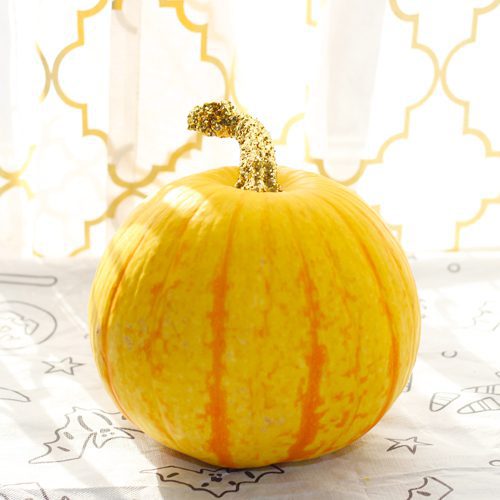
Allow everything to dry completely and display your glittering creation on your tabletops or add it to your fall pumpkin décor!
For more creative pumpkin decorating ideas, visit our blog!
SHOP FOR PLANTS WITH EASE
To better serve you, at your community Calloway’s and Cornelius, we have convenient ways to shop for all your fall favorites! Shop our open-air stores or shop online for Curbside Pickup or Delivery!
Stop by today and explore our entire Autumn Harvest selection! Have questions? Ask our Texas Certified Nursery Professionals; they are here to help!

Graphic Designer and Social Media Manager with 7+ years of experience creating impactful visuals and strategic digital content. Skilled in branding, content creation, and growing online engagement.